Core Shell and Core Tunnel support GnuPG and YubiKey flawlessly, in this howto we will assume that you already have some knowledge of GnuPG and YubiKey and your YubiKey is ready for using. But if you don't, you can follow this guide to do the initial key setup Guide to using YubiKey for GPG and SSH
Prerequisites
So now you have got your YubiKey work with ssh command line, before making it work with Core Shell/ Tunnel, following softwares are required to be installed:
- Codinn Store or Setapp version of Core Shell / Tunnel
- Brew packages:
$ brew install gnupg yubikey-personalization hopenpgp-tools ykman pinentry-mac
Config gpg-agent
Core Shell/ Tunnel are graphic apps and do not have a terminal for you to input passphrases and PIN numbers. pinentry-mac comes to save, it's a graphic dialog program that allow GnuPG to read passphrases and PIN numbers in a secure manner.
Edit you ~/.gnupg/gpg-agent.conf and tell gpg-agent to use pinentry-mac:
enable-ssh-support
pinentry-program /usr/local/bin/pinentry-mac
default-cache-ttl 60
max-cache-ttl 120
Then restart gpg-agent to make sure new configuration takes effect:
$ gpgconf --kill gpg-agent
$ gpgconf --launch gpg-agent
Config Core Shell/ Tunnel
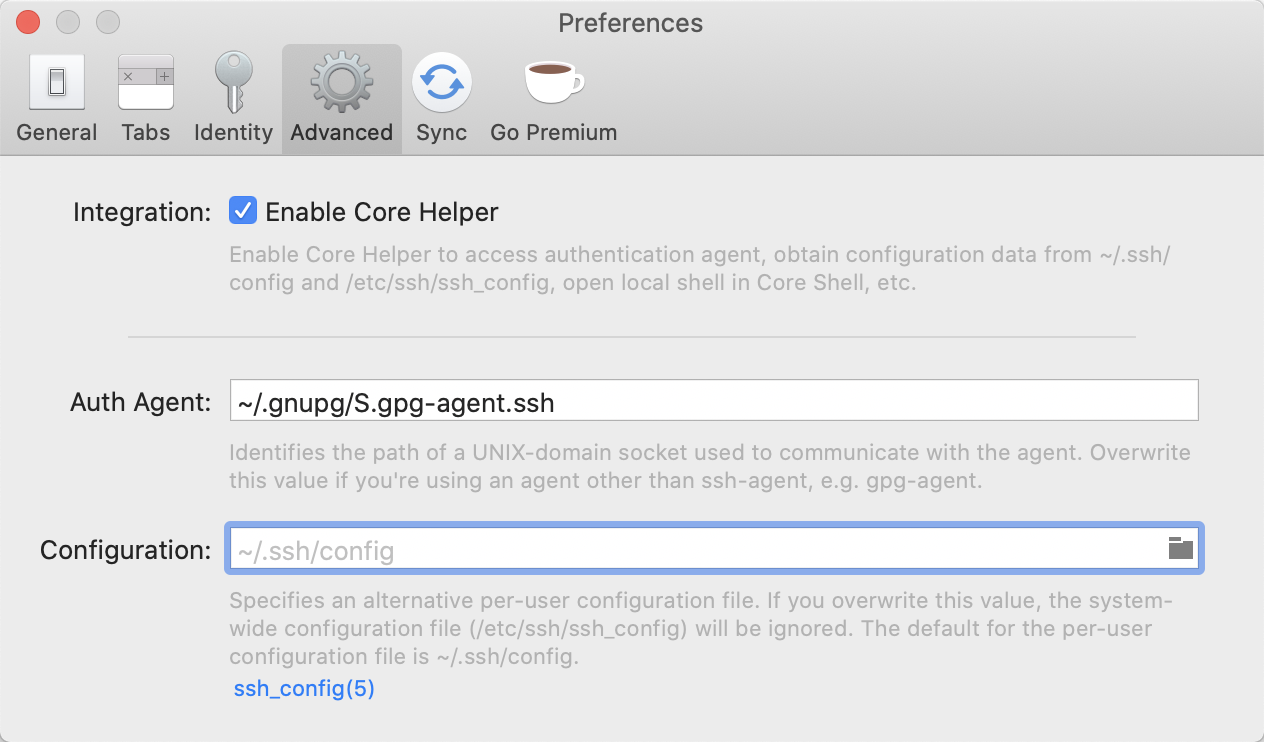
As you may know, Core Shell/ Tunnel embed a full featured OpenSSH, so they use a UNIX-domain socket to communicate with the authentication agent (ssh-agent or gpg-agent) in the same way.
Generally, you can find the UNIX-domain socket path of authentication agent using this command:
$ echo $SSH_AUTH_SOCK
Above command prints ~/.gnupg/S.gpg-agent.ssh on my Mac, but may be different in your case.
You can set this path globally:
Or host specific:

Connect
Plug in YubiKey, and connect the tunnel/ host that requires YubiKey.